Table of Contents
- Configure Buzz: Promo Widget (Pro)
- WooCommerce Category Collection
- Configure WooCommerce Category Collection
- WooCommerce Category Product in Tabs Format
- Configure WooCommerce Category Product in Tabs Format
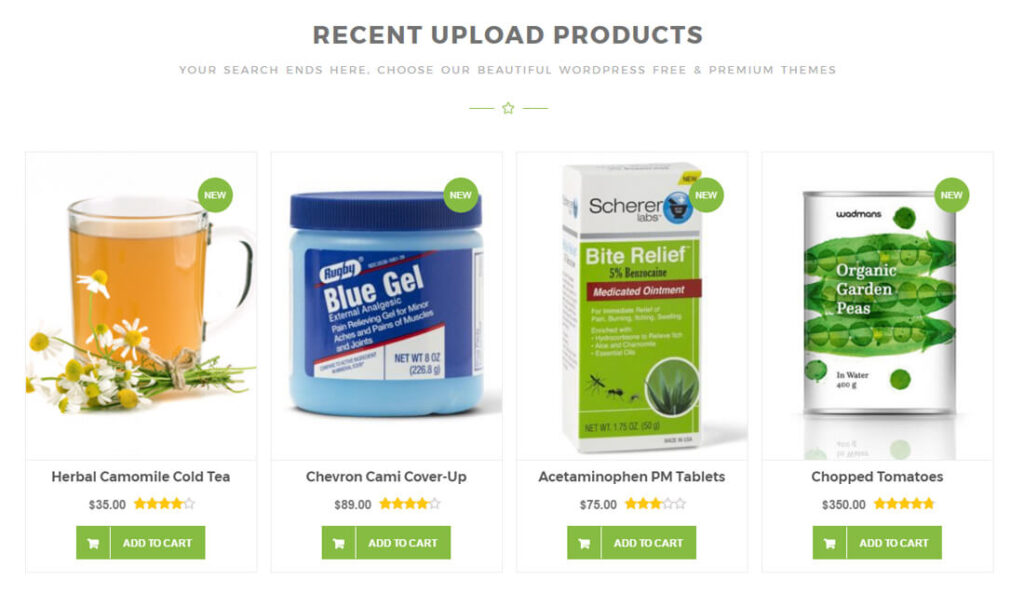
- WooCommerce Different Product Area Like (Latest, Features, Upsell, OnSale) Product
- Configure WooCommerce Different Display Product Type
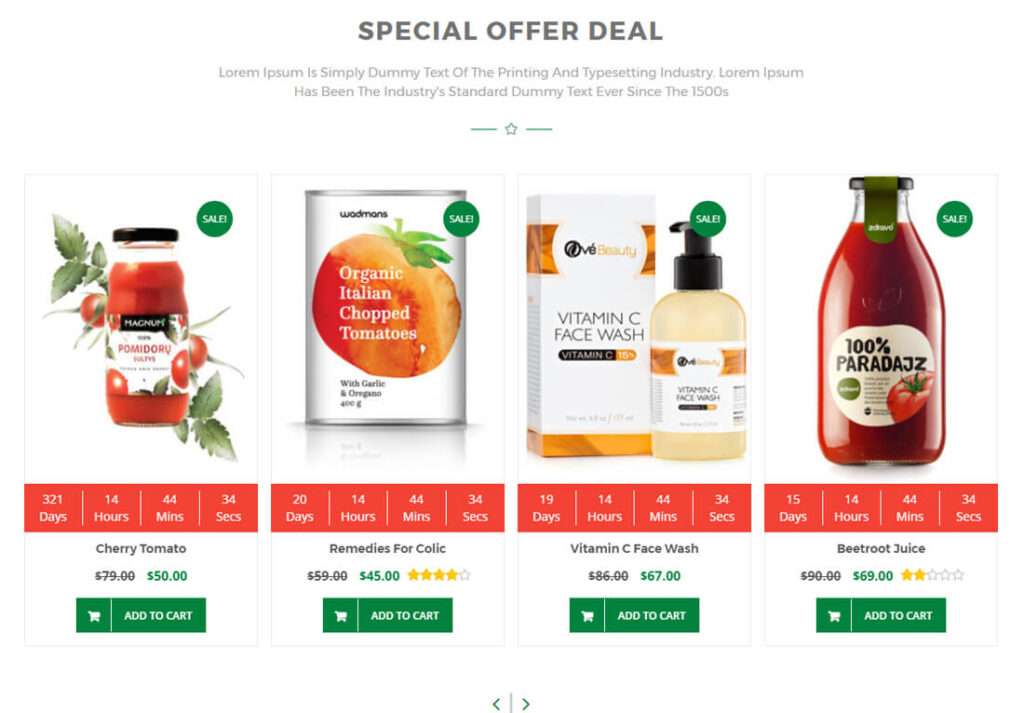
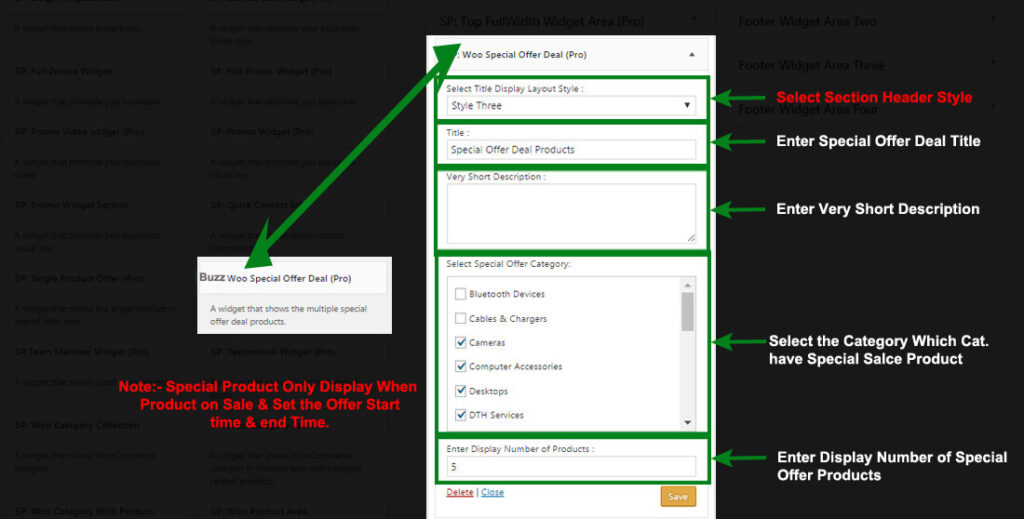
- Buzz: Woo Special Offer Deal (Pro)
- Configure Buzz: Woo Special Offer Deal (Pro)
- Buzz: Woo Products List (Pro)
- Configure Buzz: Woo Products List (Pro)
- Full Promo Widget Area
- Configure Full Promo Widget Area
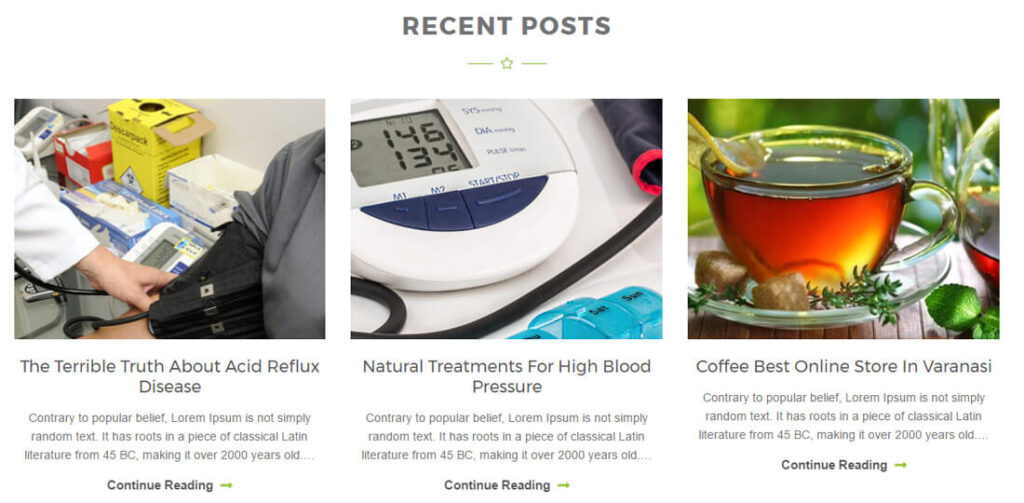
- Blogs Widget Section
- Configure Blogs Widget Section
- Testimonial Widget Section
- Create Post for Testimonial
- Configure Testimonial Widget Section
- BUZZ:Team Member Widget (Pro)
- Configure BUZZ:Team Member Widget (Pro)

Configure Buzz: Promo Widget (Pro) #
- Log into your WordPress site and opens the Administration Panel.
- Go to Dashboard > Appearance > Widgets
- Open > Widgets > Buzz : Home Main Widget Area
- Drag & Drop “Buzz: Promo Widget (Pro)” & Manage All Buzz: Promo Widget (Pro) Widget Options Per as You Want
- Click Save > Publish.

WooCommerce Category Collection #

Configure WooCommerce Category Collection #
- Log into your WordPress site and opens the Administration Panel.
- Go to Dashboard > Appearance > Widgets
- Open > Widgets > Buzz : Home Main Widget Area
- Open > Buzz : Home Main Widget Area > Drag & Drop “Buzz : Woo Category Collection” & Manage WooCommerce Category Collection Options Per as you Want
- Click Save > Publish.

WooCommerce Category Product in Tabs Format #

Configure WooCommerce Category Product in Tabs Format #
- Log into your WordPress site and opens the Administration Panel.
- Go to Dashboard > Appearance > Widgets
- Open > Widgets > Buzz : Home Main Widget Area
- Open > Buzz : Home Main Widget Area > Drag & Drop “Buzz : Woo Category Product Area” & Manage WooCommerce Category Product Area Tabs Options Per as you Want
- Click Save > Publish.

WooCommerce Different Product Area Like (Latest, Features, Upsell, OnSale) Product #
Configure WooCommerce Different Display Product Type #
- Log into your WordPress site and opens the Administration Panel.
- Go to Dashboard > Appearance > Widgets
- Open > Widgets > Buzz : Home Main Widget Area
- Open > Buzz : Home Main Widget Area > Drag & Drop “Buzz : Woo Product Area” & Manage WooCommerce Product Area Settings Options Per as you Want
- Click Save > Publish.

Buzz: Woo Special Offer Deal (Pro) #
Configure Buzz: Woo Special Offer Deal (Pro) #
- Log into your WordPress site and opens the Administration Panel.
- Go to Dashboard > Appearance > Widgets
- Open > Widgets > Buzz : Home Main Widget Area
- Drag & Drop “Buzz: Woo Special Offer Deal (Pro)” & Manage All Buzz: Woo Special Offer Deal (Pro) Widget Options Per as You Want
- Click Save > Publish.
Buzz: Woo Products List (Pro) #
![]()
Configure Buzz: Woo Products List (Pro) #
- Log into your WordPress site and opens the Administration Panel.
- Go to Dashboard > Appearance > Widgets
- Open > Widgets > Buzz : Home Main Widget Area
- Drag & Drop “Buzz: Woo Products List (Pro)” & Manage All Buzz: Woo Products List (Pro) Widget Options Per as You Want
- Click Save > Publish.

Full Promo Widget Area #

Configure Full Promo Widget Area #
- Log into your WordPress site and opens the Administration Panel.
- Go to Dashboard > Appearance > Widgets
- Open > Widgets > Buzz : Home Main Widget Area
- Open > Buzz : Home Main Widget Area > Drag & Drop “Buzz : Full Promo Widget” & Manage all Full Promo Widget Settings Options Per as you Want
- Click Save > Publish.

Blogs Widget Section #
Configure Blogs Widget Section #
- Log into your WordPress site and opens the Administration Panel.
- Go to Dashboard > Appearance > Widgets
- Open > Widgets > Buzz : Home Main Widget Area
- Open > Buzz : Home Main Widget Area > Drag & Drop “Buzz : Blogs Widget” & Manage all Blogs Widget Area Settings Per as you Want
- Click Save > Publish.

Testimonial Widget Section #

Create Post for Testimonial #
- Log into your WordPress site and opens the Administration Panel.
- First of all, create a Post for Testimonial
- Add Page Title,Excerpt/Content in post field.
- Click Save > Publish.
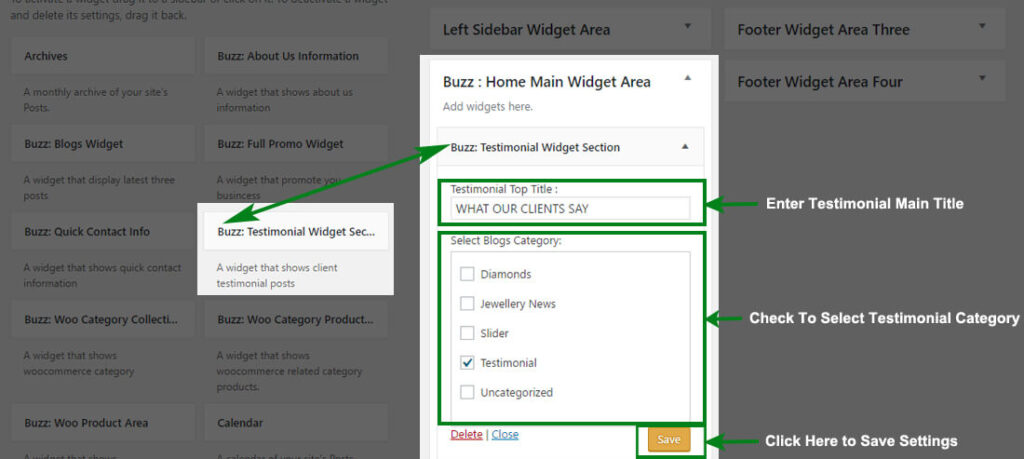
Configure Testimonial Widget Section #
- Log into your WordPress site and opens the Administration Panel.
- Go to Dashboard > Appearance > Widgets
- Open > Widgets > Buzz : Home Main Widget Area
- Open > Buzz : Home Main Widget Area > Drag & Drop “Buzz : Testimonial Widget Section” & Manage all Options Per as you Want
- Click Save > Publish.
BUZZ:Team Member Widget (Pro) #

Configure BUZZ:Team Member Widget (Pro) #
- Log into your WordPress site and opens the Administration Panel.
- Go to Dashboard > Appearance > Widgets
- Open > Widgets > Buzz : Main Widget Area or BUZZ: Top FullWidth Widget Area (Pro)
- Drag & Drop “Buzz:Team Member Widget (Pro)” & Manage All Buzz:Team Member Widget (Pro) Widget Options Per as You Want
- Click Save > Publish.


